This article is about what it takes to become an animator. It talks about the steps you need to take and the skills you need to be an excellent artist and animator.
Some claims that the author makes are things like being a good drawer, know how to use a computer really well, know how to work as a team, and the learning animator must be persistent in order to become an animator. Drawing, for example, is important because it uses the mind and it helps them grow and develop their talents that they need to become the animator that they want to be. If they cannot draw, they always have the option of using the computer. Now, you have to know how to use the computer well or else your animating career won't take off. The author says that teamwork is important because it helps you and the others around you become better animators and artists. The main argument that the author claims is that persistence is the main key to becoming an excellent animator because it helps you achieve your goals and it achieves perfection in your eyes.
I think that the author's strengths in the article are having lots of evidence for the claims she makes but a weakness that she has in the article is that the evidence is a little long. Evidence in articles should be short and to the point. She dragged on about drawing and how it ties into animation for several paragraphs. It seemed to never end. Although it was kind of long, the evidence was typed nicely and it backed up the claims at the right time.
The author makes the claims and evidence a little long but it was very easy to understand and could be read by any ages besides elementary school ages. If a middle school kid is looking into animation or a form of art, they could easily read this article. This article was fairly interesting but it was very basic.
Overall I thought the article was great, just a little long and overdone. I think that the author makes great points and was very specific and had a lot of explanation on why all of the claims were important. It was all very well laid out except for the fact that it was a little too long. This was a very exceptional article to read about animation and how to become an animator.
Link to article: http://www.animationarena.com/becoming-an-animator.html
Monday, April 25, 2016
Friday, April 22, 2016
How To Create An Umbrella In Maya: Technical Tutorial
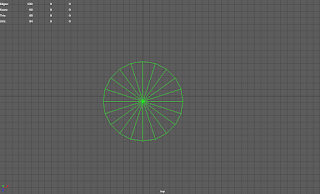 1. Start in top view in maya and create a cylinder.
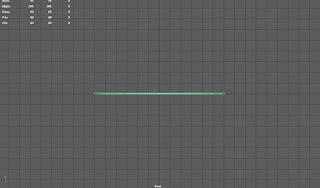
2. Drag the cylinder up and make it really thin.
3. Go to the attribute editor and change the subdivision axis to and and the subdivision caps to 4.
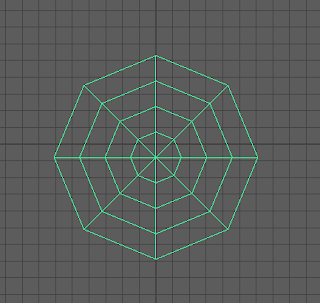
4. It should look like this from top view.
5. Right click and hold. Then select Vertex. Next you will select the vertices as shown to the right.
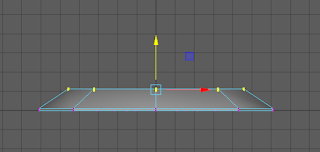
6. Drag the vertices up with the move tool. Then repeat the process with the other vertices but make the next ones higher than the previous ones.
7. It should look like this when finished.
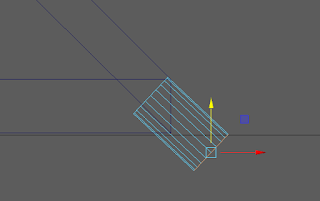
8. Next make a cylinder again and place it on the corner of the umbrella. Angle it so it matches the slope of the umbrella. Then select the edges as shown.
9. Go to Edit Mesh and bevel it again and then bevel the edges it created then move those edges out so it makes a cap shape. See example on the right.
10. When finished, it should look like this on the umbrella.
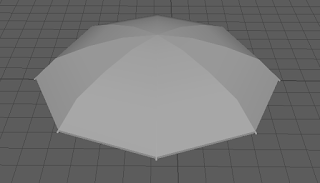
11. Duplicate the beveled cylinder and place them on all 8 corners of the umbrella as shown.
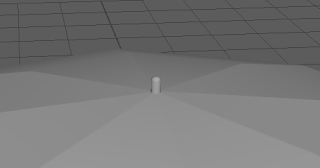
12. Duplicate the cylinder again but make it right side up and place it on the very top of the umbrella.
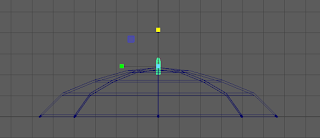
13. Stretch it to make it a little taller and wider. See picture on the right for an example.
14. Select the vertices on the bottom of the cylinder.
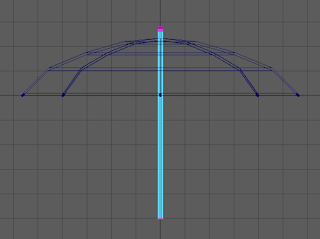
15. Pull the vertices down to make the neck of the umbrella.
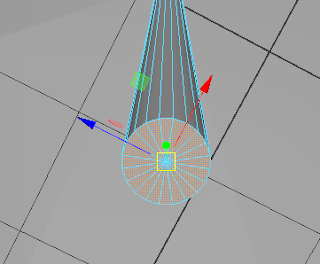
16. Select the faces on the bottom of the neck.
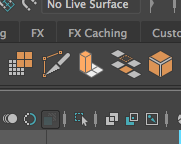
17. On the top of your screen, there should be a rectangular prism on a grid. Select that. This is called Extrude.
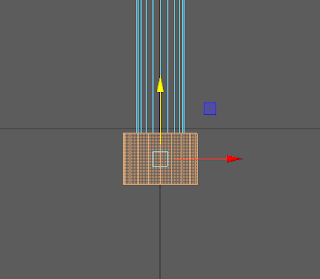
18. Pull the faces down and then select the outside faces you just made and stretch them out like this.
19. Select the bottom faces again.
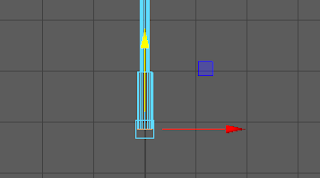
20. With the move tool, pull the faces down.
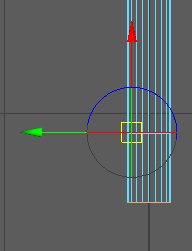
21. Extrude the faces again and pull them down. Then hit "D" and move the pivot to the corner as shown.
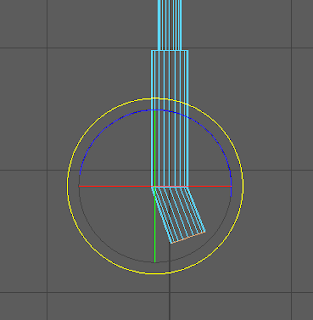
22. Now hit "D" then "E" and rotate the faces.
23. Extrude the faces again and pull them down.
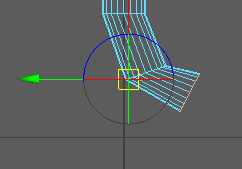
24. Move the pivot again and rotate the faces. Keep repeating the process.
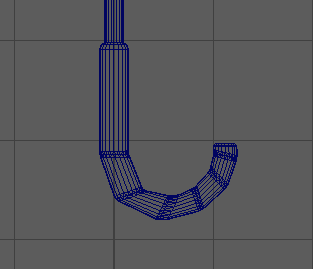
25. Your Handle should end up looking like this. To get a smoother look, bevel the edges where it looks sharp or edgy.
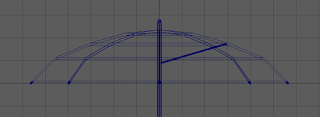
26. Create a skinny cylinder. Attach it to the neck of the umbrella and to the underside of the umbrella but make sure the rod doesn't peak through the top.
27. Duplicate it and flip it to the other side.

28. Rotate it around the umbrella so it is equally spaced. There should be 8 rods evenly spaced around the neck.
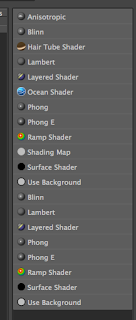
29. Select the cap-like cylinders you made before. Hold right click and then select "Assign New Material" under the face option. Then select Phong.
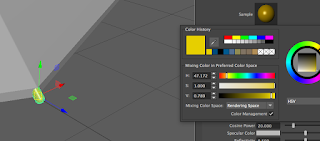
30. Select the color chooser and make a gold color. Up at the top, name it Gold.
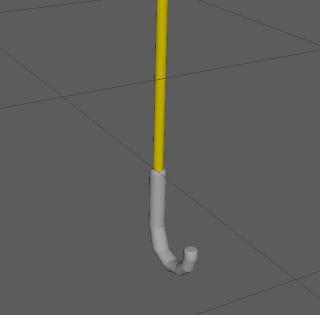
31. Select the neck of the umbrella and only the neck of the umbrella and color it gold by holding right click and choosing "Assign Existing Material."

32. Select all of the rods under the umbrella and color them gold too.
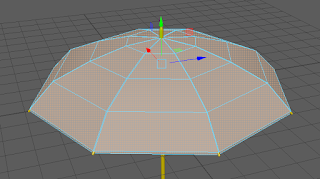
33. Select all of the faces on the top. Leave the underside grey for now. Repeat the process like you did with the gold except use "Lambert" instead of "Phong" and make it black instead of gold.
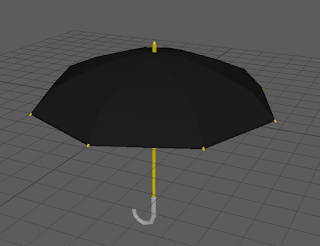
34. It should look like this.
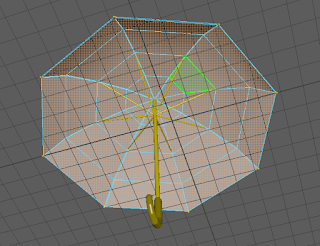
35. Color the handle of the umbrella a darker gold than the original gold. Then select the underside faces and make a new texture. Make it a Lambert like the black but color it blue.
36. The underside should end up looking like this.
37. Select all the parts of the umbrella.
38. Go up to "Mesh" then click "Combine." This will make it all one object.
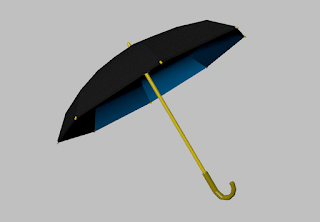
39. Your final product should look like the example on the right.
Subscribe to:
Comments (Atom)


